
 connected via glowing lines.")
Learning how to configure your home network like a pro can transform your internet experience, delivering fast, secure, and reliable connectivity for all your devices. Whether you’re streaming, gaming, or working from home, a well-optimized network is essential. This guide breaks down actionable steps to set up your home network with professional-grade performance, using beginner-friendly explanations and expert tips.
Why Configuring Your Home Network Matters
A poorly configured home network can lead to slow speeds, dropped connections, and security risks. In 2023, a Netgear study reported that 68% of households experienced Wi-Fi issues due to improper setup. By learning how to configure your home network, you can:
- Boost Speed: Eliminate lag for seamless streaming and gaming.
- Enhance Security: Protect your devices from cyber threats.
- Improve Reliability: Ensure consistent connectivity across your home.
Let’s dive into the steps to configure your home network like a pro.
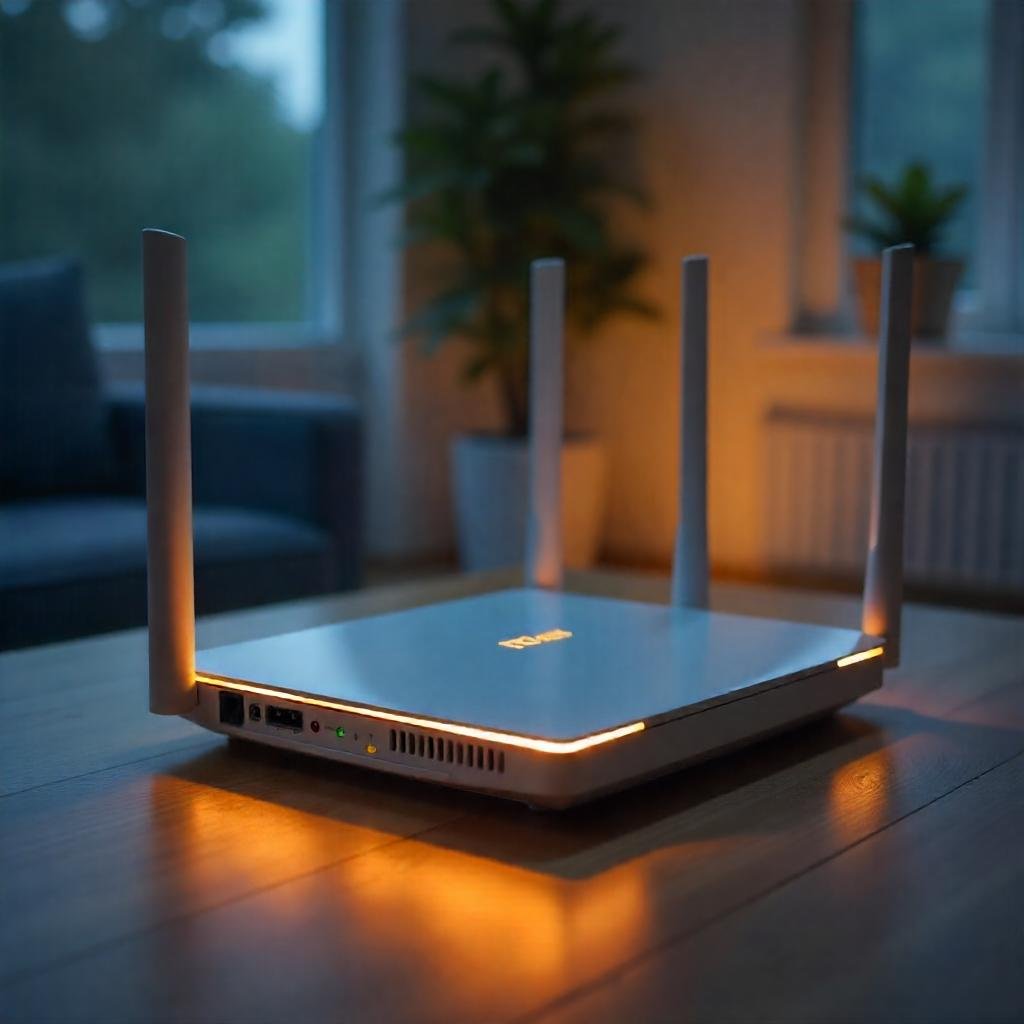
Step 1: Choose the Right Router for Your Home Network
Your router is the heart of your home network. Selecting a high-quality router tailored to your needs is the first step to configure your home network effectively.
What to Look for in a Router
- Wi-Fi Standard: Opt for Wi-Fi 6 or Wi-Fi 6E for faster speeds and better device handling.
- Coverage: Choose a router with enough range for your home size. For larger homes, consider a mesh system like Google Nest Wi-Fi.
- Ports: Ensure multiple Gigabit Ethernet ports for wired connections.
- Security Features: Look for WPA3 encryption and built-in firewall options.
Real-World Example
Sarah, a remote worker, upgraded to a Wi-Fi 6 router and noticed a 40% speed increase for her video calls. Investing in the right hardware pays off.
Pro Tip: Check your internet plan’s speed. A router won’t increase your ISP’s bandwidth but can optimize how it’s distributed.
Step 2: Position Your Router Strategically
Router placement impacts Wi-Fi performance. To configure your home network for optimal coverage:
- Place it centrally: Position the router in a central, open area to maximize signal reach.
- Elevate the router: Keep it off the floor, ideally on a shelf.
- Avoid interference: Keep it away from microwaves, cordless phones, and thick walls.
- Use external antennas: Adjust them for broader coverage if available.

Step 3: Access and Configure Your Router Settings
To configure your home network like a pro, you’ll need to access your router’s admin panel.
How to Log In
- Connect to your router via Wi-Fi or Ethernet.
- Open a browser and enter your router’s IP address (e.g., 192.168.0.1). Check the router’s manual or sticker for the exact address.
- Log in using the default credentials (often “admin” for username and password) or your custom credentials.
Key Settings to Adjust
- Change SSID and Password: Create a unique network name and a strong password (12+ characters, mix of letters, numbers, and symbols).
- Enable WPA3 Security: If supported, switch to WPA3 for enhanced encryption.
- Set Up Guest Network: Isolate guest devices to protect your main network.
- Update Firmware: Ensure your router runs the latest software for performance and security. Most routers have an auto-update option.
Pro Tip: Save your settings after each change to avoid losing configurations.
Step 4: Optimize Wi-Fi Channels and Bands
Wi-Fi channels and bands impact speed and interference. To configure your home network for peak performance:
Choose the Right Band
- 2.4 GHz: Better range but slower speeds, ideal for IoT devices like smart bulbs.
- 5 GHz: Faster speeds but shorter range, perfect for gaming and streaming.
- 6 GHz (Wi-Fi 6E): Ultra-fast and less congested, if your devices support it.
Select the Best Channel
- Use tools like NetSpot to analyze nearby networks and choose a less congested channel.
- For 2.4 GHz, use channels 1, 6, or 11 to avoid overlap.
- For 5 GHz, higher channels (e.g., 36–48) are often less crowded.
Real-World Example: John, a gamer, switched to a 5 GHz band and a non-overlapping channel, reducing his ping by 30% in online matches.

Step 5: Secure Your Home Network
A secure home network protects your data and devices. Here’s how to configure your home network for maximum security:
- Enable Firewall: Activate your router’s built-in firewall to block unauthorized access.
- Disable WPS: Wi-Fi Protected Setup is convenient but vulnerable to attacks.
- Use a VPN: For sensitive tasks, route traffic through a VPN like NordVPN.
- Monitor Connected Devices: Check your router’s admin panel to spot unfamiliar devices.
- Set Up MAC Filtering: Allow only trusted devices to connect by registering their MAC addresses.
Pro Tip: Regularly change your Wi-Fi password to minimize risks.
Step 6: Test and Troubleshoot Your Network
After configuring your home network, test its performance and address any issues.
Testing Tools
- Speed Tests: Use Ookla Speedtest to measure download/upload speeds.
- Ping Tests: Check latency for gaming or video calls.
- Coverage Maps: Apps like WiFi Analyzer help identify dead zones.
Common Issues and Fixes
- Slow Speeds: Restart your router, check for interference, or upgrade your plan.
- Dropped Connections: Update firmware or reposition the router.
- Dead Zones: Add a Wi-Fi extender or mesh system.
